Wide with Pride
 That wall of sound: without a doubt one of the characteristics we love from mixes we hear today on the radio or in our favorite music streaming web site. We love it and your clients do, too. So how do we achieve that? Let’s find out.
It Starts Early
 A mandatory consideration, before getting our hands dirty, is that a wide-sounding mix certainly starts early:
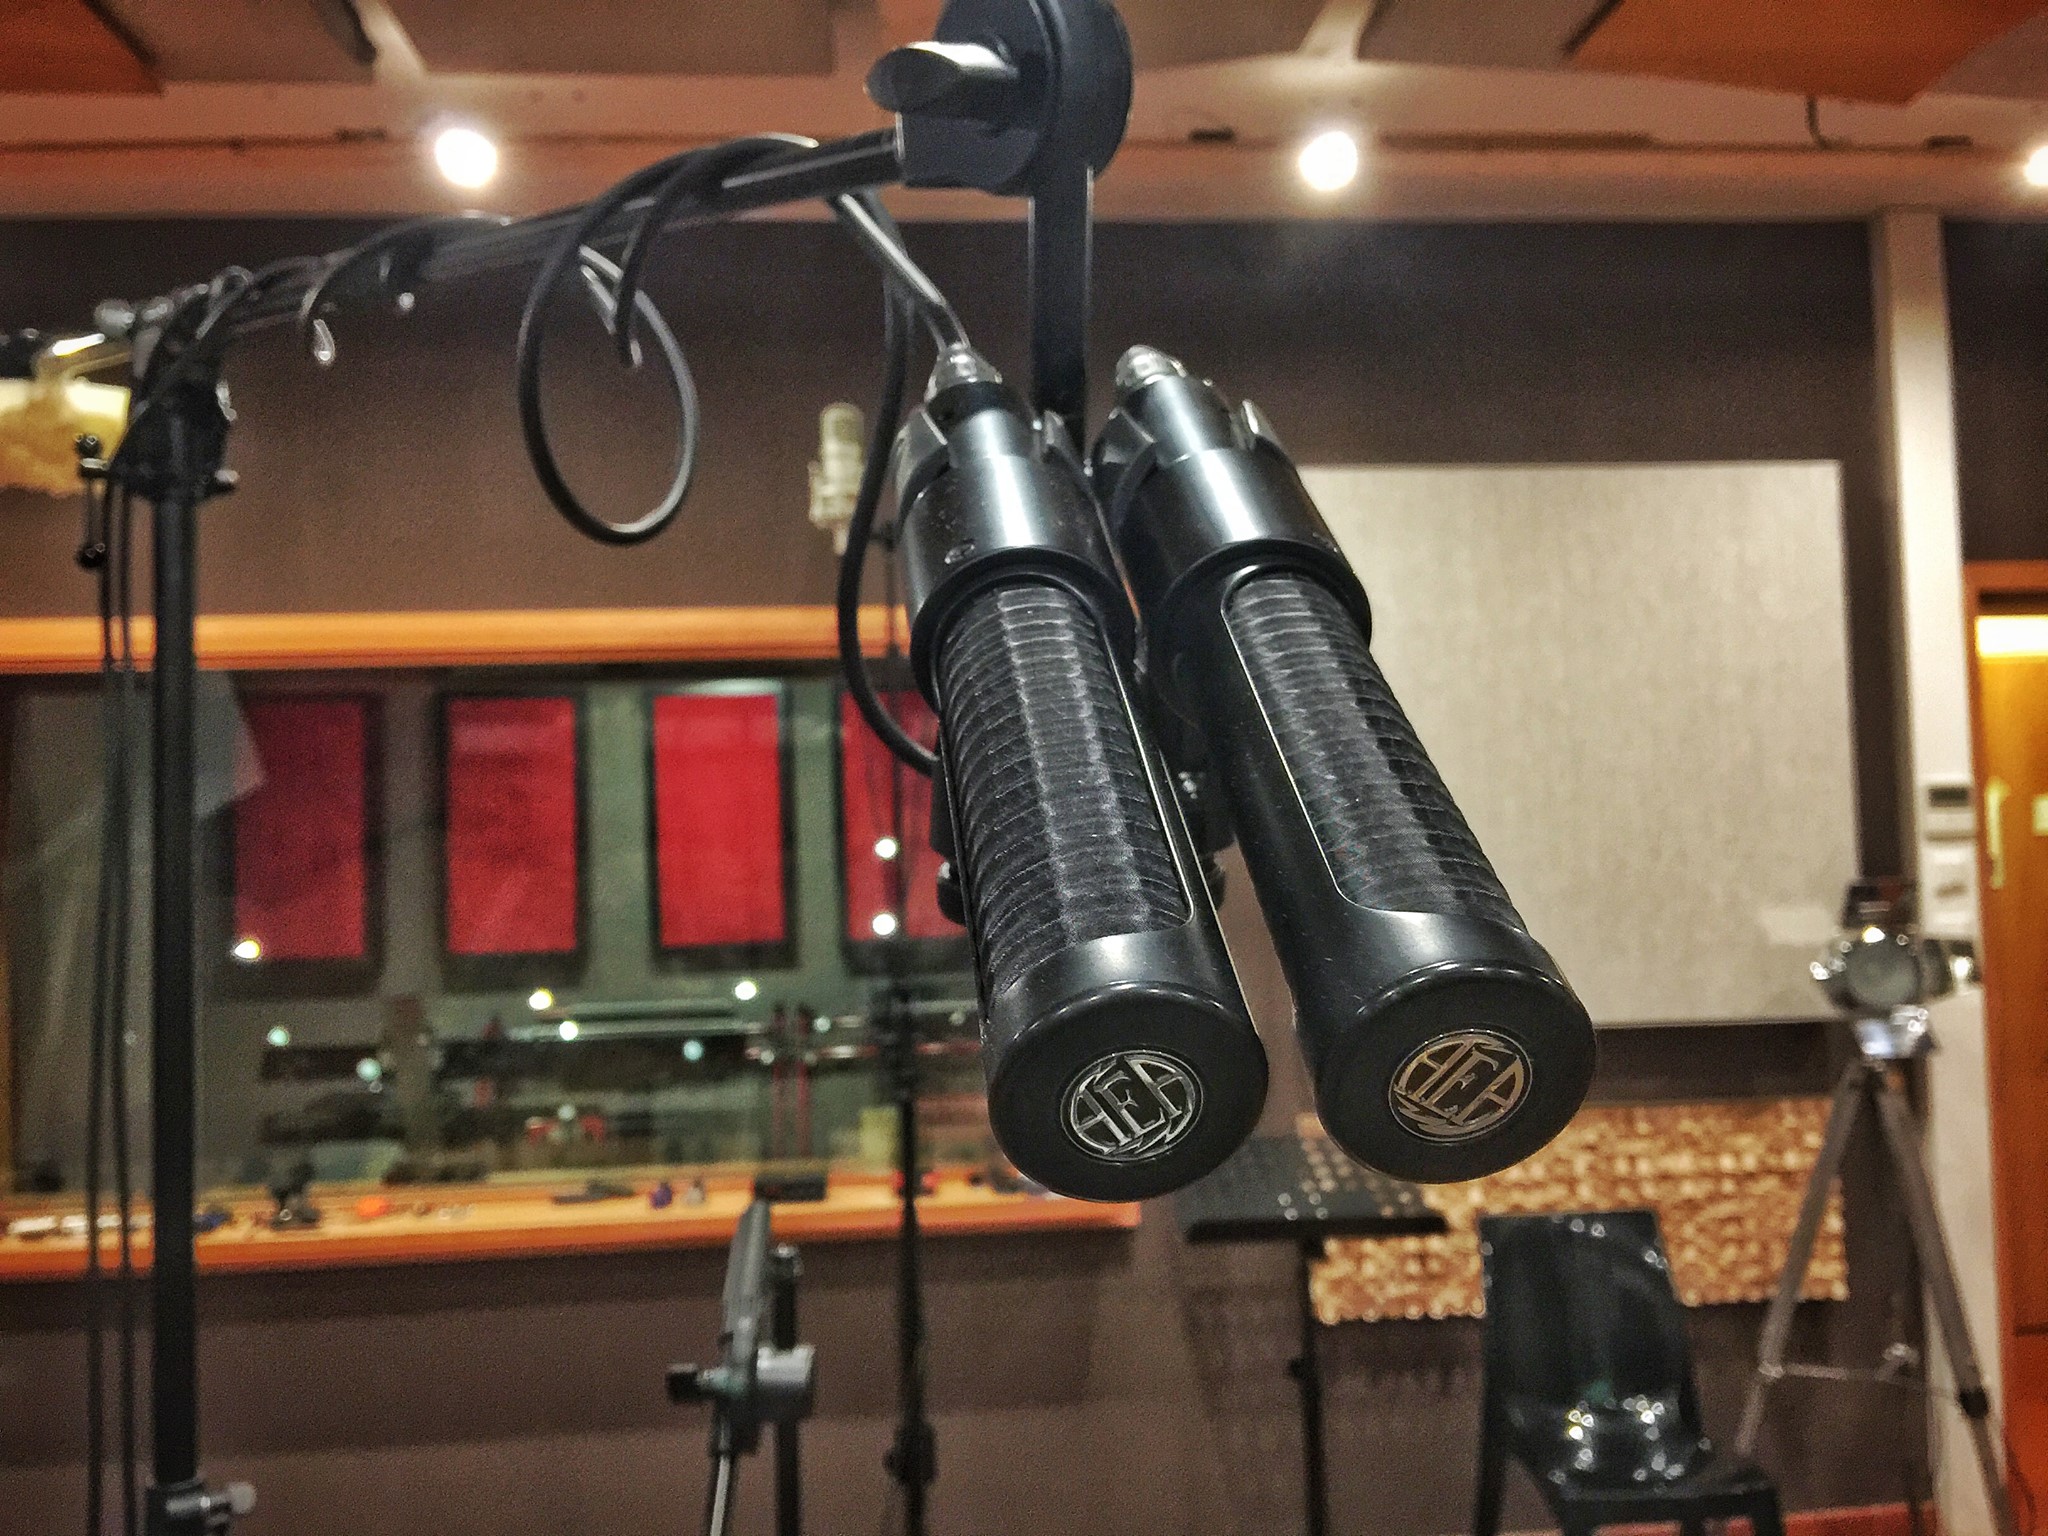
- Microphone positioning and routine polarity checks ensure that multi-miked instruments sound their best (think: drums. I can guarantee you that the pair of AEA Nuvo N8 I used on the overheads and the pair of Lauten Atlantis I used for the stereo room made the kit sound organically coherent, natural and airy that half of the trick was done through just those two pairs and my careful positioning/listening!)
- A good-sounding room to get real ambience recorded along with direct microphones is great (think again: drums)
- Subtle differences between similar instruments creates the right variety in the frequency spectrum (think: electric guitars, the amps used, the miking and the tone shaping of all this)
- “Wide” only sounds good if you already have “Deep”: a flat mix with no back-to-front soundstage will not feel 3-dimensional
- Arranging and contrast help: a wild “left-only” guitar part or a mono-piano ostinato placed dead center will help the next “wide” section feel even wider: it’s all about relative contrast
Basics: CHECK
 The recording engineer has it all down, the band sounds great and the takes are ready for mixing. So what now? For years I’ve pondered whether I should try and get the most out of my real stereo field (meaning: no cheating) and leave any widening to the mastering engineer or I should go ahead and work out some widening magic straight from the mix.
- There is no right or wrong: personally, at some point, I decided to go bold and do the widening whenever I feel like it, for three main reasons:
- Most mastering engineers I’ve worked with (the good ones) abstain from excessive artistic choices, including super-widening a mix that sounds “just normally stereo”.
- Most clients I’ve worked with specifically demand that I master my own mixes. It’s controversial. It’s often something untold. No one wants to say that. Well, it’s the truth: despite my suggestions for colleagues and trusted engineers that I know could handle mastering very well (and offload my responsibility of doing yet-another-task and having tunnel vision) most clients want it done right, but also fast.
- If I am mixing and I feel something is needed to make the mix sound better, I don’t postpone, I don’t defer, I don't put a sticker on someone else’s fridge: I go for it.
Despite all the tricks available, I don’t do anything that will leave you breathless: I just place a stereo widening plug-in on my mix bus. If I am mixing completely In-The-Box (very rare), I usually place it after my compressor(s) and EQ(s), but before any “harmonic” tape emulation. If it’s a hybrid situation where I go out to my analog outboard for mix bus duties, I usually place the stereo widener plug-in on the first track after my A/D has captured the analog mix. I usually have an auxiliary track that feeds the actual audio print track, and that’s where my widener will sit. I generally find that this gives me the better sonic benefits and doesn’t cloud the analog outboard I feed my mix to.
What do I use? Do these plug-ins really sound different?
 There are dozens of plug-ins that can do this in the digital world and for this article I’ve put together a comparison of eight processors that I have available in my toolbox. You will notice that some of them have a simple Mid/Side mixer, meaning you can alter the gain of either the Mid (meaning the ‘sum’: elements of the mix that are identical in both the left and right speakers) or the Side (meaning the ’difference’: the elements of the mix that do not exist identically in both channels). At this point, widening a mix can be a matter of altering the balance of the Mid/Side, generally by increasing the level of the Side (or decreasing the Mid). This will give you the simplest, less-obtrusive method to widening your mix. Which is what most plug-ins have at their disposal. Some of them have a real Mid/Side mixer, others have a percentage for stereo width. Those two things, trust me, are basically identical and can - almost every time - be exchanged this way:
Stereo Width: 100% equals to a Mid: 0 dB - Side 0 dB. These are usually the starting points and do not alter your stereo field Stereo Width: 200% equals to raising the difference in the Mid/Side mixer of 6 dB, in favor of the side channel. This could be: Mid: 0 dB - Side: +6 dB, Mid: -6 dB - Side: 0 dB, Mid: -3 dB - Side: +3 dB .. or anything in-between.
Some of you have already guessed that:
Stereo Width: around 167% equals to a difference of 4.5 dB
Stereo Width: 150% equals to a difference of 3 dB
So, very basically, the two things are interchangeable and there is nothing unique about that specific control of the plug-in. Of the plug-ins that I will talk about in the article, it’s good to know that the following plug-ins null down to under -80dBfs when the above numbers are matched:
- Air Stereo Width (Width Knob)
- Brainworx bx_digital (any version) (Width Knob)
- UAD K-Stereo (Mid/Side Mixer)
- Mathew Lane DrMS (Mid/Side Mixer)
- Waves S1 Imager (needs gain compensation afterwards, but still nulls) (Width Fader)
- PSPAudioware Stereo Enhancer (Width Fader)
Now that we know that those basic controls sound the same in all those plug-ins, let’s see what special trick every manufacturer has put in its own product.
To The Testing Grounds!
Let’s take an excerpt from the song ”The Heat” by Sway, taken from their latest EP “Vacation” that I had the pleasure to record, mix and master, in 2017 here at Fuseroom. This is the final mix “02b” (not the master) that the band approved. No wideners were used until this very stage.
Now let me introduce you to eight processors that can all do stereo widening, but in different ways. I’ve tweaked all of them without trying to match any number: I just sat down at the desk, tweaked one plug-in, and then some hours later (or even the day after) I sat down again with another plug-in and so on and so forth. The interest here is not to see if numbers match but more to see how my reactions to the behavior of the plug-in itself led me to do “something productive” to improve the stereo field of the mix. You’ll notice that all of the examples sound different, some more than the others, but none of them sound bad to my ears!
 — AIR Stereo Width
One of plug-ins commonly found in any Pro Tools rig. It offers the usual Width Knob but can also play on delaying channels (a bit too extreme for a mix) or focusing on phase-shifting a specific frequency area. Getting a likable result was fast and painless.
 — Waves S1 Imager
Super simple, a classic. I usually use the S1 to place real acoustic instruments in a virtual soundfield (it works great on close-miked strings, for example). In this case I only widened the mix and left it where it’s at.
 — Waves Center
A different take on Stereo Field Management, by Waves. This plug-in does something proprietary to the sound and I was not able to replicate it with anything else. Raising the Side channel was not bad but did not really sing until I tweaked the balance of the knobs on the top, where you can decide what channel would get characteristics like depth and punch. If you go very slow and carefully on them you’ll hear that moment in which you’ll go “aah!”. Still, to me it’s never the most musical of the bunch but it gets things done.
 — UAD bx_digital V3
More than just a Stereo Widener. In this case I went ahead and used its Mid/Side EQ features to add air to the Side channel as well as some “meat” in the 600 Hz range. This is where most of the stereo content for keyboards and rhythm guitars reside, and it’s an area I always check to boost, in mastering (don’t tell anyone, this is a secret). In the mid channel I cleaned some mids, focused on the 5k range to bring the lead vocal forward and also gave the bass are a bit more belly. The result is obviously more polished than just simple stereo widening but it’s not necessarily head-and-shoulders better than the other contestants so I thought it was a fair game to use the EQ as well. There’s lots of things you can do with this plug-in!
 — Mathew Lane DrMS
Easily the most complicated to grasp of the whole bunch. This plug-in can be a Russian roulette and any teenager under the age of 14 should have parental guidance when using it. But I promise, once you get it right, it’s amazing what it can do. It offers Mid and Side channel mixing with dedicated HP and LP filters, plus sample-based-delays. But most of all it features unique “Focus” and “Zoom”. When I first opened it, years ago, I got it as a recommendation from a friend. I turned the Zoom knob up and felt it sound like garbage, then did the same with Focus, different garbage. So I ditched it. But the real strength is understanding that these two parameters can work on a specific frequency range and that, by default, the HP and LP filters are set to make them work full-spectrum. Not really the most useful thing to do but rather a starting point. In my example I tailored the Zoom area to focus on a specific range of high frequencies, while still bringing up the Side channel. This created a heightened sense of air in the upper registry of guitars, vocals, cymbals and keyboards while retaining a very coherent, punchy, centered energy, typical of a rock mix. Note to self: it’s worth spending some time training on plug-ins, from time to time!
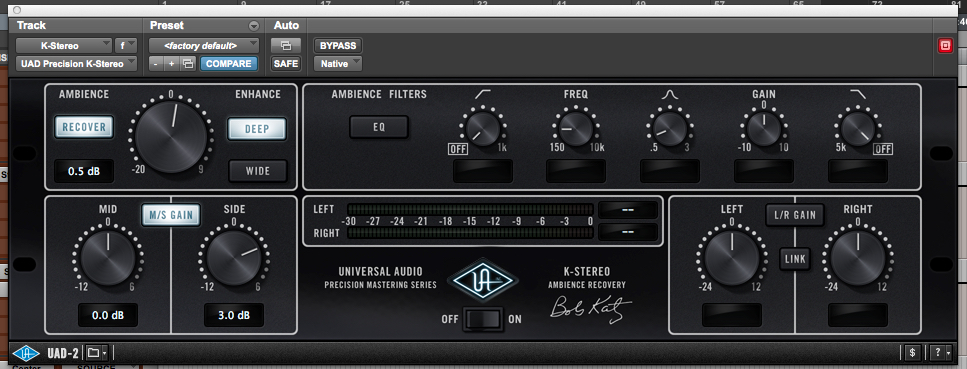 — UAD K-Stereo
Bob Katz’s approach to stereo management, this plug-in features a bunch of unique tricks. Aside from a Mid/Side mixer, output gain controls and the possibility to shape-shift a specific frequency area, the “Recover” function with its “Deep” and “Wide” settings are amazing. You can get really wide mixes without feeling as phase-y as other plug-ins, which is the common problem when overdoing the processing. The K-Stereo is probably one of the best combinations of “easy and fast to use” without compromising on the integrity of the sound signal. And it has Bob’s signature! ..legend has it that this will give your mixes a 5% quality boost by default.
 — PSPAudioware Stereo Controller
Old but still gold. It features a stereo width control but also the possibility to focus on phase-shifting a specific frequency range. The unique part comes from its “Modes” that you can find more or less appropriate depending on the genre.
 — Ozone 8 Imager
A multiband stereo widener that can process the audio signal in different ways, through different bands, independently. This could help if you want to keep the bottom of the mix tight (where your mono bass drum and bass reside) and push more meat in the mids or give a heightened sense of air in the high frequencies. Definitely the more surgical of them but also the colder, to my ears? No wonder iZotope products are renowned to err on the color-less side (although not always true). The Stereoize fader was helpful to regain some musicality.
Final Considerations
 Some additional elements I’d like you to consider:
- A good monitoring room (acoustics+monitors+calibration) is paramount to being able to assess the differences and know when “maybe it’s ok?” is really “ it sounds good”.
- Listening also on reference headphones is a good thing to do to make sure your audience doesn’t get sea sick while on the subway.
- Experiment with compressing the Side channel only with a dedicated compressor, then bringing its level up in the mix. It’s a more advanced technique (something like an Empirical Labs Fatso is amazing for that) and something I might not do in acoustic music, jazz, classical or whatnot, but helps aggressive mixes feel consistently powerful and juicy. It can also totally destroy your mix. As Fab would say, "Isn’t that amazing?" ;)
- Analog Stereo Width Control is also a possibility and because of the imperfections of the analog world, it sounds very desirable to most people! Some Mastering Transfer Consoles offer those knobs. Don't be afraid to test them but don't expect them to go to 1000%: for a mastering engineer, a couple clicks on those can help regain the stereo field when mastering compressors might have collapsed it a bit (when trying to master a CD that the label is requesting loud as hell!)
- Some people use correlation meters (available in plug-in form, as well) to check how much side content is out of phase in their mixes. Honestly, I've never found a good use for them. Unless you have specific broadcast standards to respect (more for post-production), I tend to use my ears and trusted room+monitors+headphones to make sure things sound right. And yes, there might be some red LEDs and whatnot blinking around but.. "if it sounds right"! Right?
I hope this article was useful to gain some more insights