Any music that’s made by people playing instruments will not fall 100 percent on the grid, nor would we want it to. Minute rhythmic variations are part of what creates feel and groove. That’s why, unlike in music that’s primarily programmed rather than played, complete quantization is not desirable in genres based on human musicianship.
That said, there’s nothing wrong with fixing obvious timing errors in a recording or just doing some subtle tightening here and there. The latter is what you’ll see in this excerpt from “Start to Finish: Jacquire King - Episode 8 - Editing The Bass And Drums.” Jacquire shows how he edits the drum tracks from the song “Keep the Light On,” by Oak and Ash.

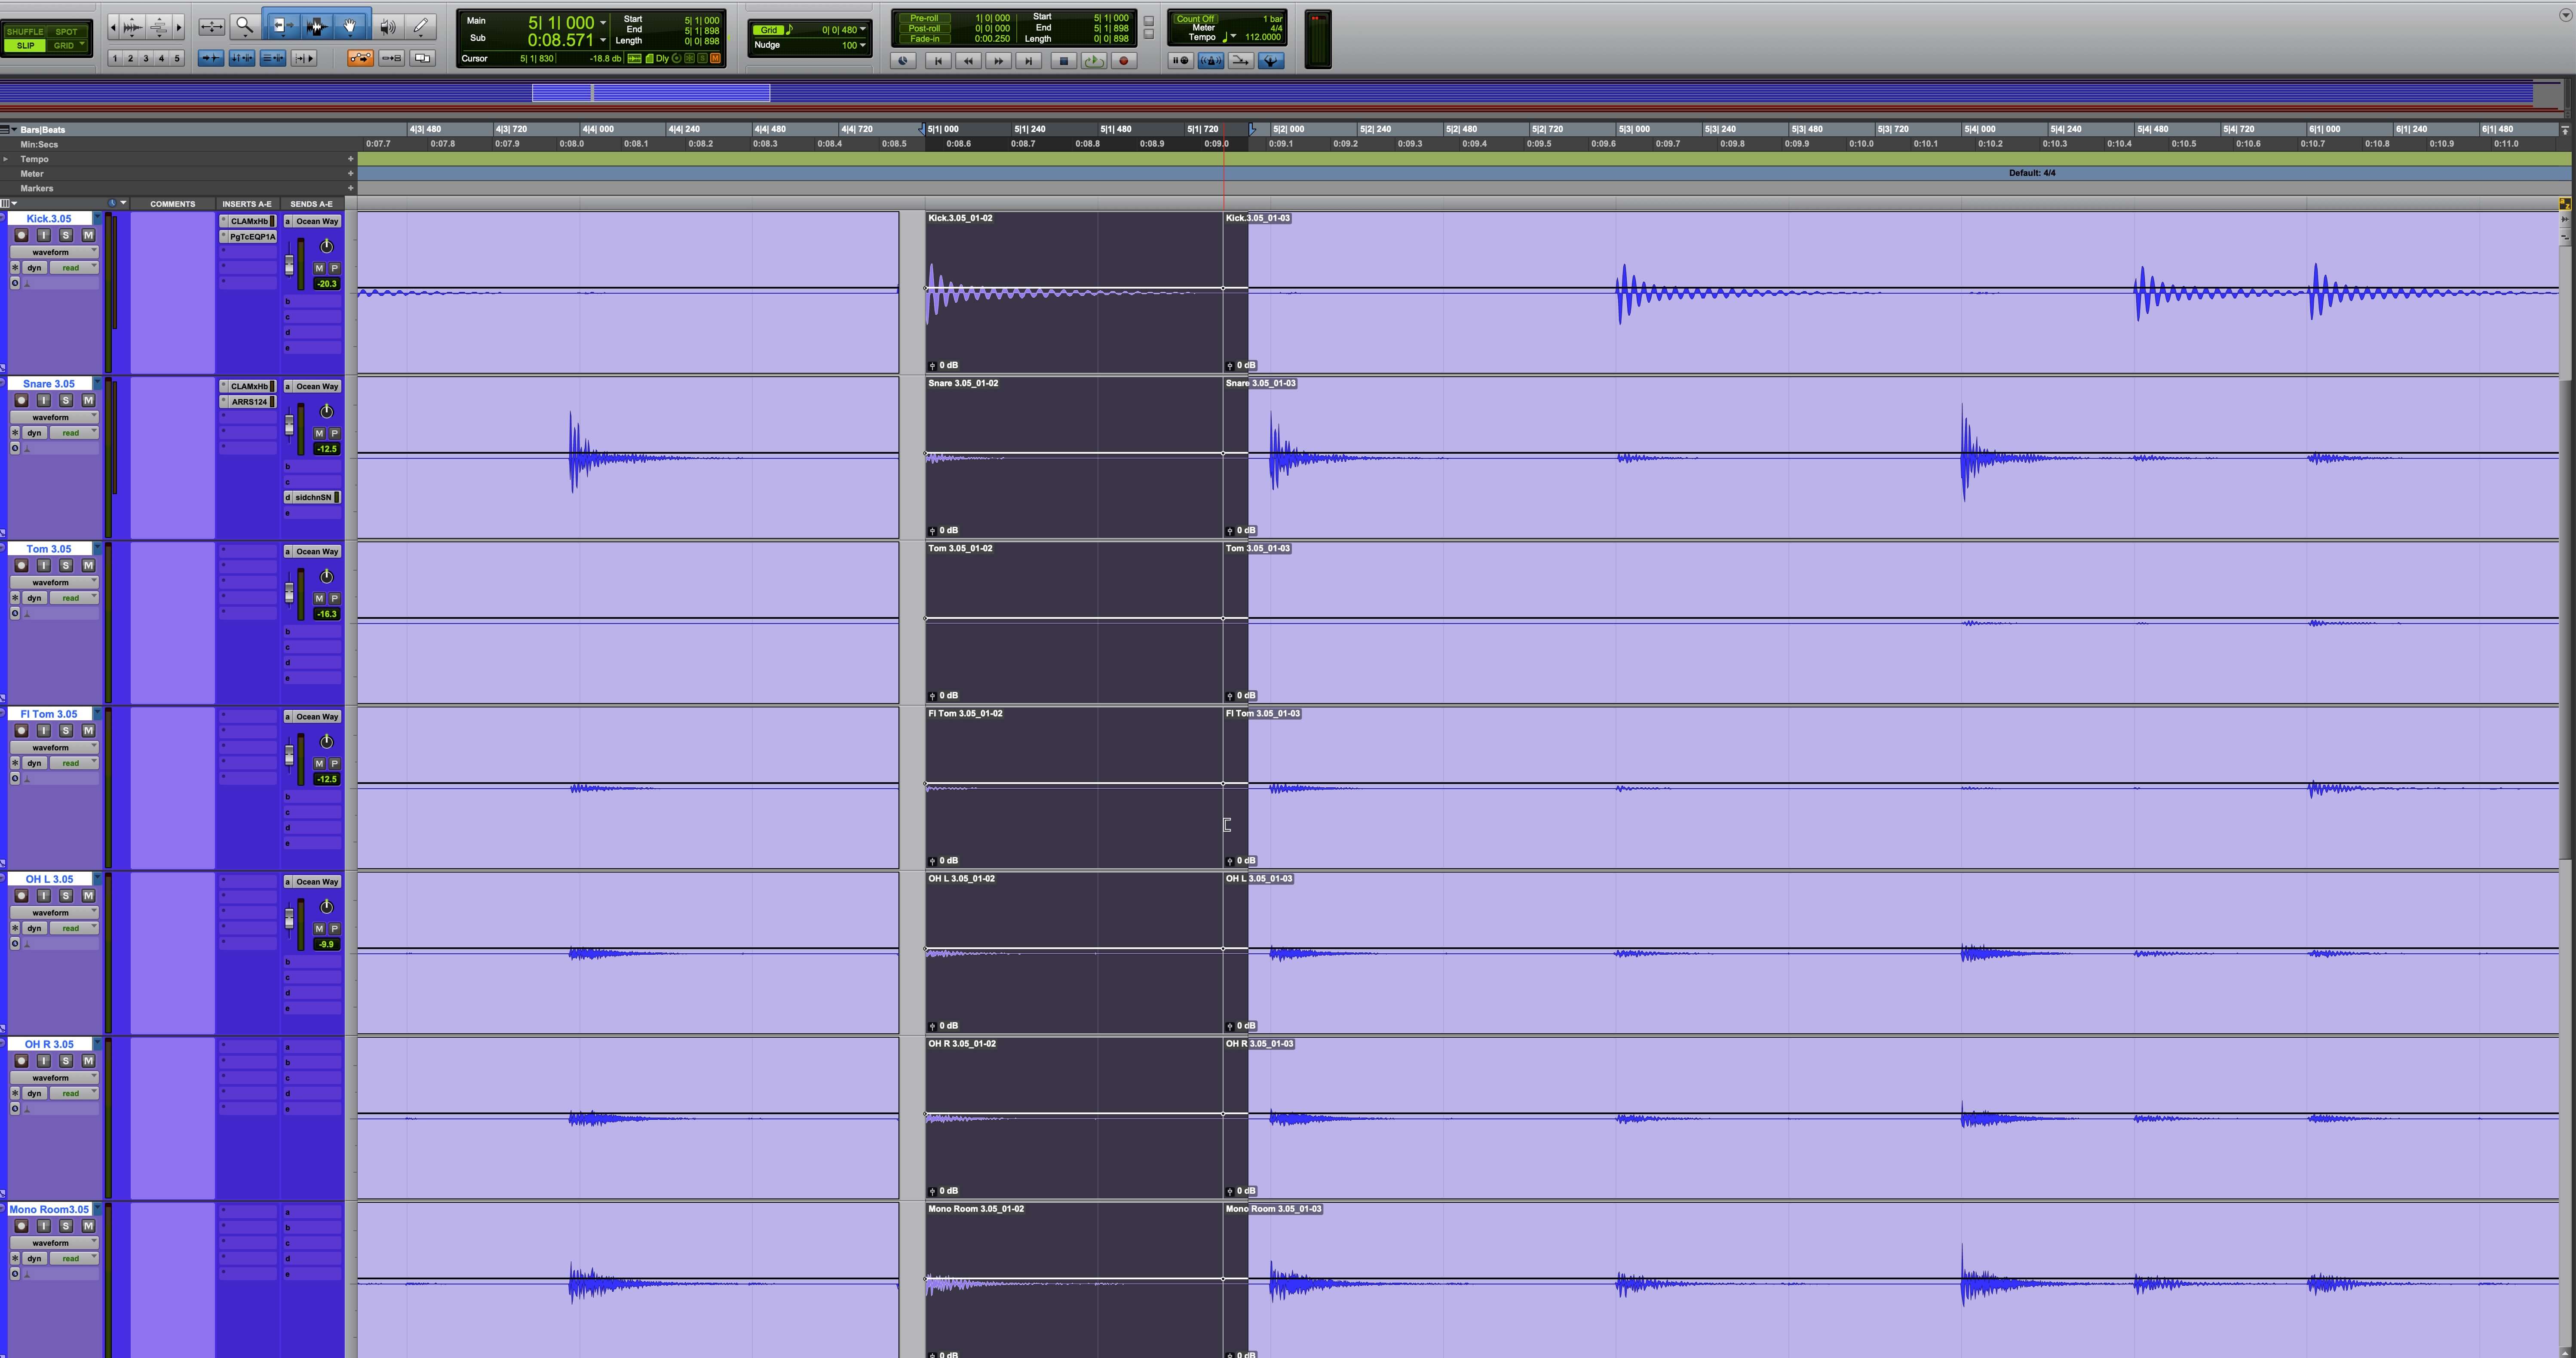
A section of the drum tracks from “Keep the Light On”
Copying is Good
Jacquire begins by duplicating the Playlist for each of the drum tracks. Doing so creates an independent copy of the track that’s layered on top of the original. He’ll do his editing on the copy, leaving the original untouched but easily recallable.
In Pro Tools, Playlists are are equivalent to takes. They’re stacked on top of each other, and only the top one is audible. But you can select any Playlist to be the active one. All you need to do is pull down the menu in the track header and choose the one you want.

The Playlist menu is where you duplicate and create new Playlists and where you switch between takes.
Jacquire doesn’t have to hit “Duplicate” for each drum track individually because they’re all part of a track group. Duplicating on one track copies the entire group assuming it's active.
When you’re editing multitrack drums, it’s critical to group them if you’re going to edit their timing or length. That’s because the mics in a multitrack drum recording are capturing the same performance. They’re just doing so from different location around the kit. So an edit that affects the timing of one track must be applied to all the drum tracks to keep them in sync.

Setting up a track group.
When you duplicate or create a new Playlist on a track, Pro Tools automatically adds an incremental number to its name. For example, if you duplicated a track named “Kick” the duplicate would be “Kick.01” and the next one “Kick.02,” and so forth. Jacquire says he duplicates the Playlists on multitrack drums before each significant editing task, such as the timing edits, batch crossfading and consolidating Regions.
Prepping
There are any number of ways to edit drums in Pro Tools (or other DAWs), but Jacquire’s method is quite efficient. Before starting, he does some preliminary Region separations to make sure that he doesn’t inadvertently move the entire drum track when he’s just editing one small section. At the minimum, he separates the regions at the beginning of each song section.
He also makes a few global settings. He puts Pro Tools into Slip mode so that he’s not constrained by the grid when cutting into beats or dragging track sections after cuts. He presses the Grid button to show the grid lines, so he can see them under the waveforms for reference.

Before editing drums, make sure the grid and quantize values match.
He sets the grid to the smallest rhythmic value where his edits might fall (eighth-notes in this case). He’s going to be moving snare and kick hits mostly, so the eighth-note grid will give him the visual reference he needs in this case.
He explains that it’s also essential to use the same value for the visual grid and the quantize settings (you’ll see how he uses quantization shortly), or the quantization can move the Region to the wrong beat. He takes one other preparatory step, which is to mute the guitar and bass tracks and turn on the click at a low, but audible volume.
Making the Cut
The following are step-by step drum-editing instructions featuring the same basic workflow that Jacquire uses in the video.
1) Start with the preparatory tasks mentioned previously including creating a group for the drum tracks, duplicating their Playlists, making preliminary region separations, setting the grid value, showing the grid lines, and setting the quantize value to match the grid.
2) Listen to the song and identify hits that need tightening.
As an example, we’ll use an eight-bar section of a multitrack recording of two guitars, bass and drums, where there are a couple of rushed kick drum hits that need to be moved closer to the beat.

The two spots where the kick is early are highlighted.
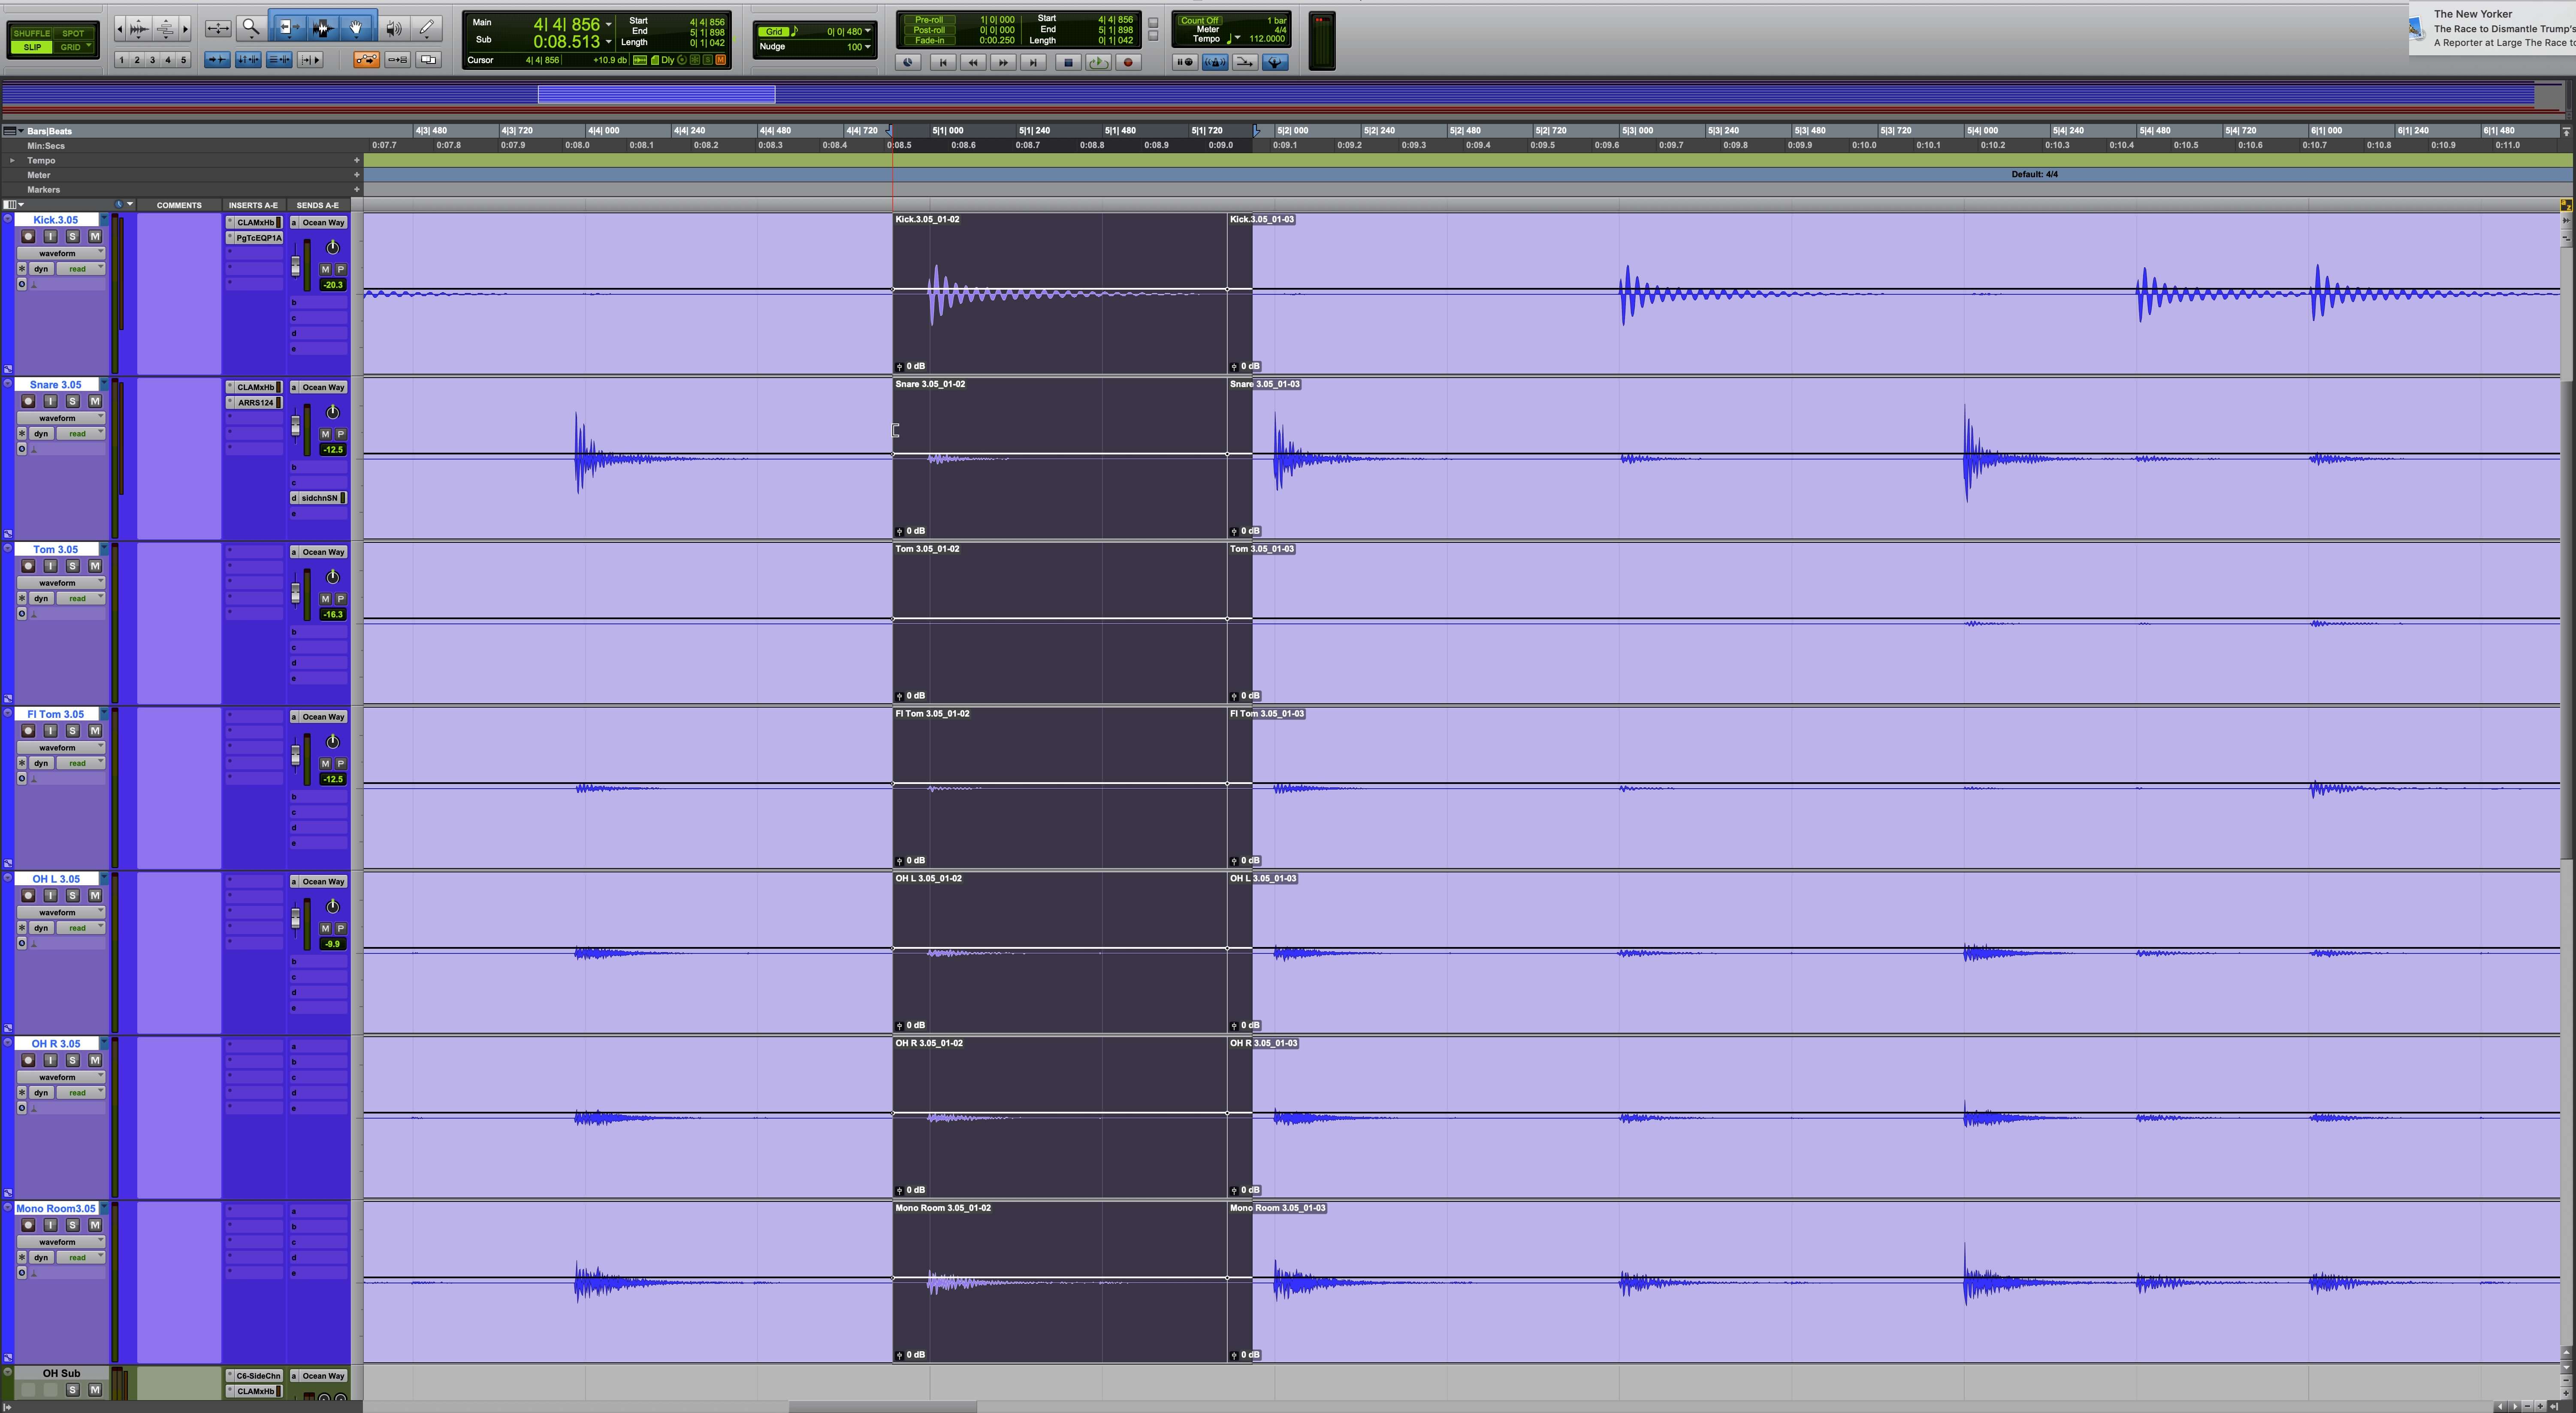
3) Click just a little bit into the beat you want to move (unless you’re going for 100% quantization, in which case, use Pro Tools “Tab to Transient” feature and cut right at the transient) and then, while holding down the mouse button, drag the selection to where you want the right edit boundary to be. Remember that the quantize command will move everything in the Region, so keep the Regions short.
4) Press Command + E (Control + E on PC) to split the selection into a new Region.

The Region selected and split. Notice the beat is cut a little past the transient.
5) Press Command + 0 (Control + 0 on PC) to quantize the Region so that the left edge of it snaps to the grid.
After quantizing the Region.
6) Extend the left boundary by dragging to cover the space that was created after the cut and the quantizing. When you move that boundary, make sure that you’re not causing any double hits. Also, be mindful of the right-hand boundary. If you need to move it a little to make for a smoother transition, do so.
After dragging the left boundary.
Now, here’s the example after editing the two rushed kick beats.
To see how to edit drums using Pro Tools’ Beat Detective feature, check out this Puremix video.