"How To Listen: Vintage Gear Edition, Episode 2: Mic Preamps," finds Fab once again at Welcome To 1979 Studios with Chris Mara, the producer, engineer, and owner of the Nashville-based studio. This time, the subject of their listening tests is vintage mic preamps. They have a drummer in the studio and are recording her playing through a variety of preamps including the MCI and added API preamps in the studio's MCI mixing board. The mic setup on the drums stays the same, only the preamps change.
After demonstrating the simple-but-effective four-mic arrangement they're using for the drum recording, they start recording, and then compare and analyze the differences between the various mic preamps they're using.
PREvailing Wisdom
If you've got a home studio, it's less likely that you'll have multiple channels of vintage mic pres to experiment with, like Fab and Chris have in the video, but you can use their digital equivalents. There are plenty of emulations of classic hardware preamps available in plug-in form. Because of the way most DAWs handle plug-ins, you're most likely going to use your preamp plug-in as an insert effect for mixing on a track that's already been recorded (and already impacted sonically by whatever preamp was used in the recording process). You can use the plug-in preamp for color, EQ and saturation.

The Customized Console at Welcome to 1979 lets you switch between its own mic pres and API versions, for each channel.
The only way you'd record through a preamp plug-in on input is if have an interface likea UAD Apollo or Antelope Audio models—to name a couple of examples—which allows you to process the input signal with a preamp emulation plug-in. But because that's less common, we'll focus in this article on using plug-in preamps as mix effects.
How's Your Topology?
Before getting into some audio examples with mic preamp plug-ins, it's instructive to talk a little bit about what preamps do and why they differ. In the hardware realm, a mic preamp's main job is to take the output of a microphone, which is extremely low, and amplify it so that it's compatible with the much higher requirements of the line-level circuitry of your mixer or audio interface. Doing so entails a fairly significant boost. A typical mic signal is around -50dBu (dBu refers to decibels relative to voltage), and line-level for pro gear is +4dBu.
Though all mic preamps do the boosting part, how they do it depends on the type of circuitry they used, which is referred to as their "topology." They can use tube circuitry, solid-state with transformers or solid-state without transformers. Each type offers different sonic characteristics.
As you might expect, tube preamps, for example, the Telefunken V76 or Universal Audio 610, are not as clean as solid-state units. But that turns out to be a feature, not a bug because the tube circuitry produces a pleasant saturation when overloaded.
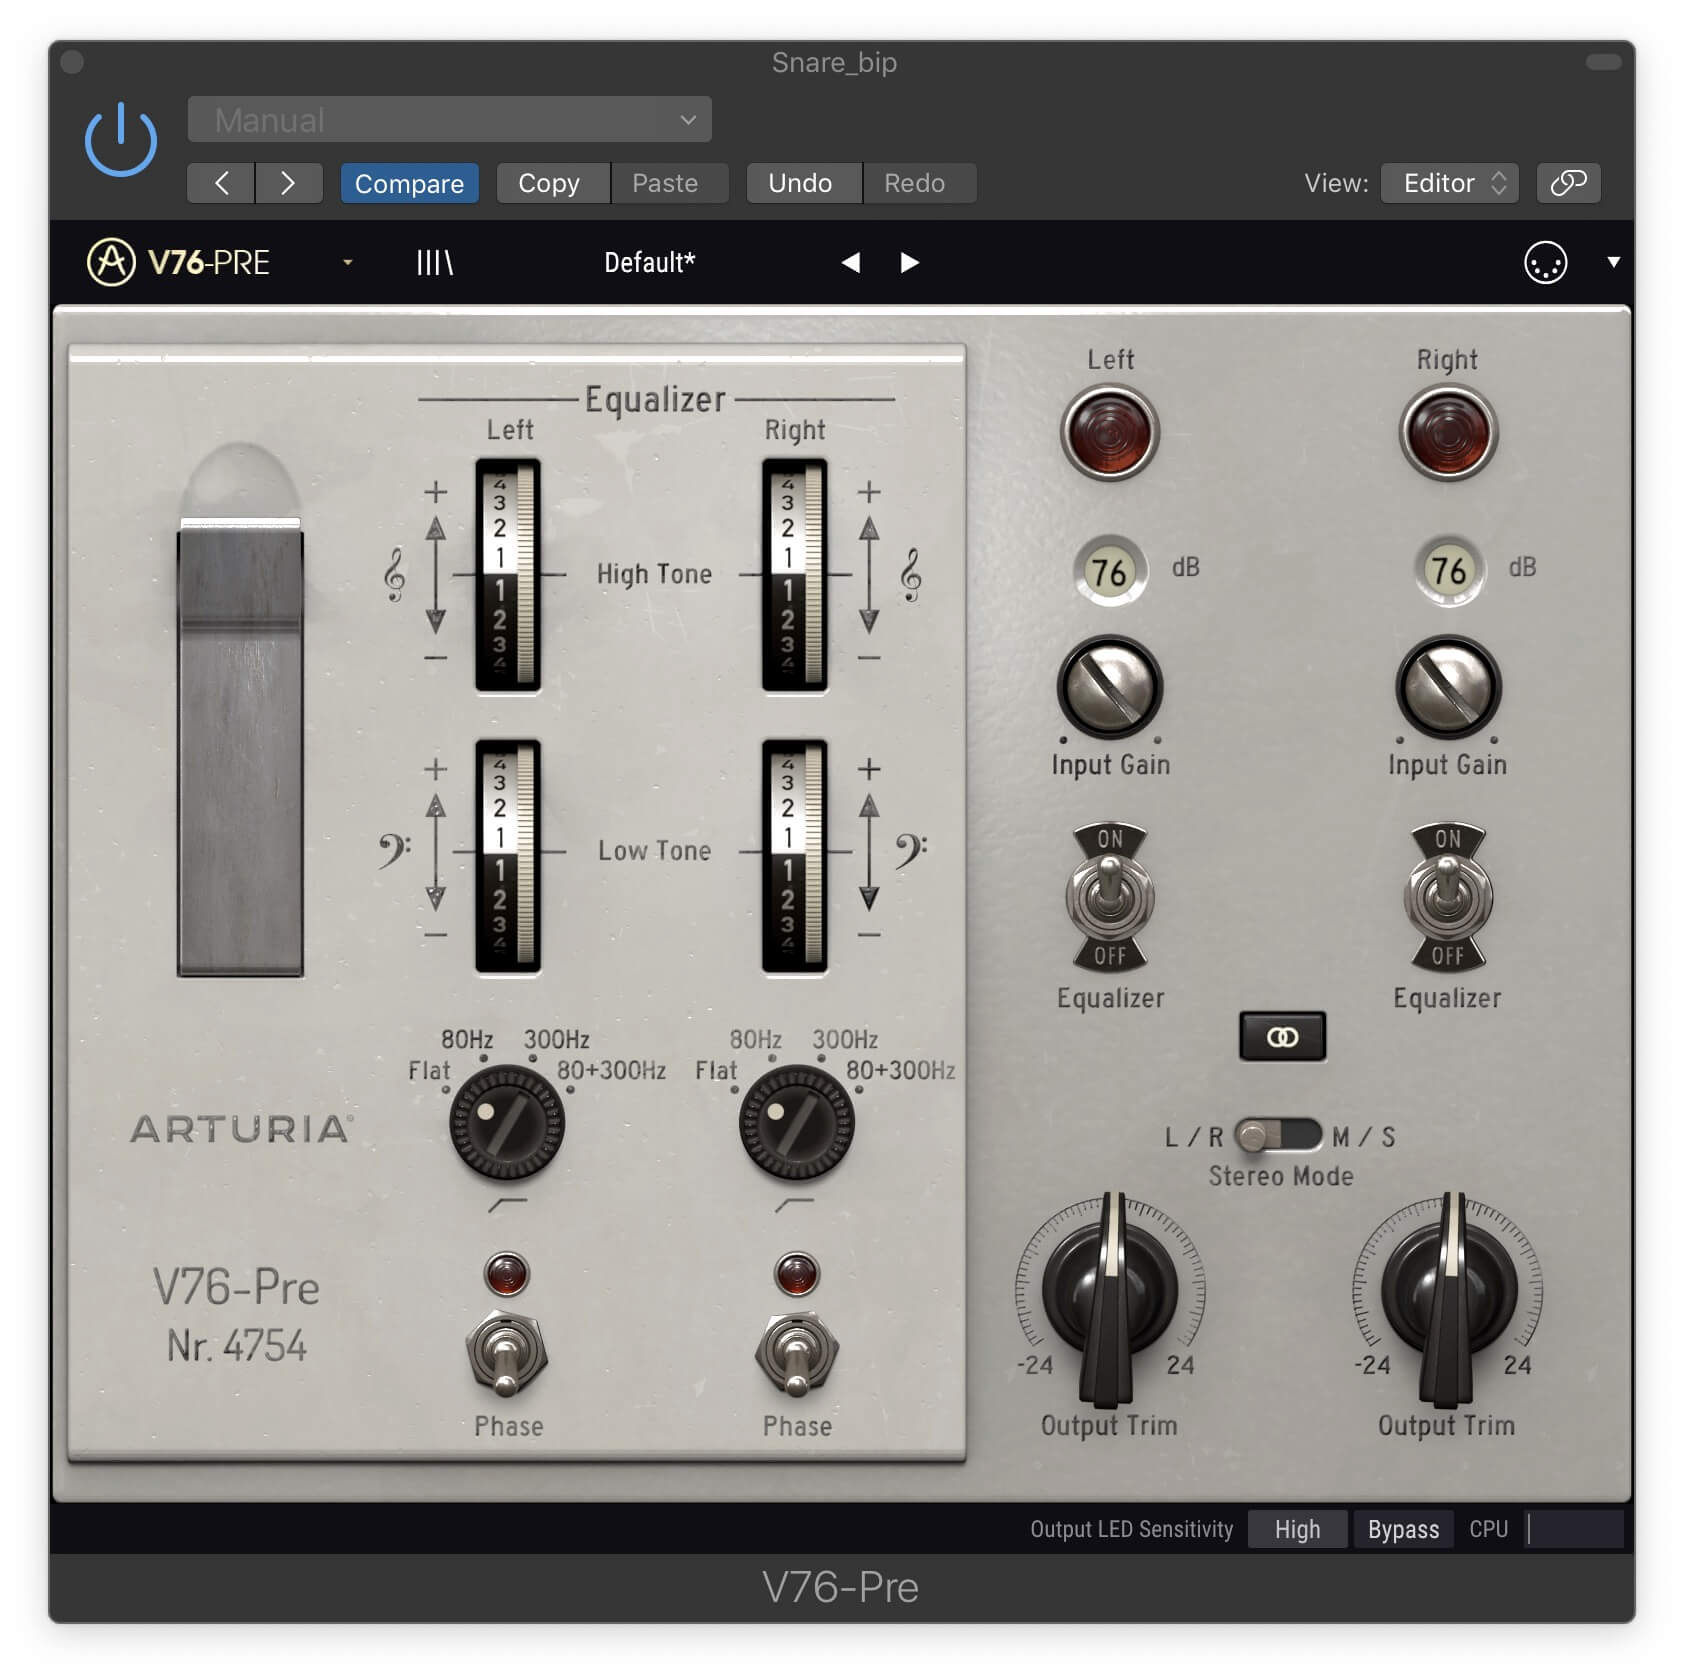
The Arturia V76-Pre emulates the classic Telefunken V76 mic preamp, and offers plenty of tube crunch with its gain set high.
Solid-state preamps offer lower distortion specs at normal operating levels, but they too can produce saturation—albeit with different characteristics than tubes. That's particularly true with transformer-based models. Some of the most famous preamps, including those from Neve or API (both of which are used in the video) can be overloaded to create transformer saturation. Transformer-less solid-state mic preamps offer the cleanest reproduction when their levels are set in the normal (not overloaded) range.
Many preamps and preamp emulation plug-ins also contain EQ sections, often taken from console-channel EQ designs. The unique voicings and features of these equalizers help differentiate one preamp from another. For example, the EQ on the Neve 1073 is considered to be highly desirable thanks to its filter types and frequency choices.

The UAD Neve 1073 Preamp plug-in.
Insertion Point
The following examples feature different types of preamp plug-ins on a variety of audio sources. Their impact on the sound can be pretty subtle at low-gain settings, but you can get some pretty dramatic results when you start overloading the input. It all depends on what you're going for. With many of the preamp plug-ins, the combination of the sound of the preamp and its EQ can create some excellent tones.
Example 1: You'll hear a two-measure drum pattern repeat 3x, with a small space between the repeats. The first time there's no added preamp emulation. The second time, the Arturia V76-Pre, which emulates the Telefunken V76 tube mic preamp, is inserted on the drum bus with a moderate gain setting. The third time it's got a relatively high gain setting.
Example 2: This time, the drum pattern repeats four times. The first time with no added preamp emulation, the second with the UAD Neve 1073 Preamp with a moderate line-level gain setting; the third time with the highest line-level gain setting (you can also set it to mic level if you want to really crush it); and the fourth time with the same gain setting, but the EQ turned on and boosting moderately in the high-shelf and at 110Hz in the low-shelf, which punches up the kick nicely.
Example 3: Here's a short guitar figure that repeats 3x. The first time has no added preamp emulation, the second time it's processed by the UAD Neve 1073 with its highest line-level gain setting and boosts in the high-shelf and at 1.6kHz in the midrange band; and the third time with similar EQ and the gain set to -20 in the Mic range. The last setting creates a hefty amount of modeled transformer saturation. Because mic-level audio is so low compared to line-level, using the Mic range on the 1073 plug-in on an existing recording requires turning down the Input slider or Output knob so as not to completely overload it.
Boost it Up
As you can hear from these examples, plug-in emulations of hardware preamps let you add everything from subtle console flavoring to fairly heavy saturation on your tracks. If you engage their EQ sections, which are typically based on console channel designs, you can shape the sound even more. Like with any processor, the trick is to find the one (or ones) you like and get comfortable with how to coax the best tones from it.