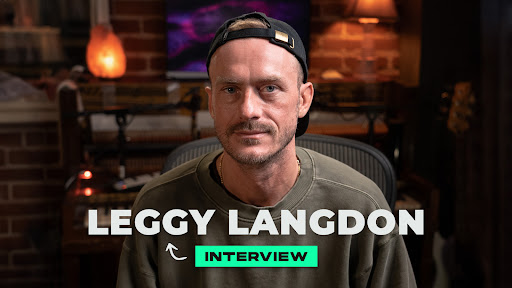
When a session arrives from Zac Brown Band it already sounds 90% done - now learn how to add subtle and not-so-subtle touches to a mix that take it from good to great!
Andrew Scheps opens up his final mixing session for the song "Young and Wild" and walks you through track by track how he applied his tastes and techniques to amp up the song.
Each step along the way he shows you before and after examples of his creative processing that adds the perfect touches to complete the song's sonic vision.
In this tutorial you'll learn:
Andrew's mixing thought process and mixing techniques
Tricks to enhance already great sounding tracks
How to add processing without compromising the artist's sonic direction
Use creative routing and effects to add an extra sense of space to a mix
See how the band uses meticulous editing to create a dynamic production
Work with pre-written automation and also using automation to add more dynamics and excitement to the mix
Don't forget to download the exercise files and practice mixing the song for yourself! The band was gracious enough to allow pureMixers the chance to try their hand at mixing the first section (intro to the first chorus) of the song.
4.8
21 reviews
c
cihanbaris •Sunday, February 7, 2021
The videos are good, but its a bummer when the exercise files are cut short. I understand the logic behind it, but we could have at least get the second verse as well. Its not much fun when its cut this short.
derek.h •Tuesday, May 7, 2019
This is Awesome
D
Dubnick •Thursday, August 3, 2017
Actually, scrap that last comment/question - was wrong. Sorry!
S
Smcner12 •Saturday, July 22, 2017
Oh...Oh god. I looked up "Hot Carl"...in google images. I immediately regret this decision.
j
johndcx •Thursday, July 6, 2017
yeah just buy Waves we get it.....who cares what it sounds like>>>
D
Doug Noble •Tuesday, June 6, 2017
Is there anyway to get the layout and order of Zac Brown Lead Vocal Effects?
tvpnyc •Sunday, June 4, 2017
The addition of the Rhodes— using the Waves Imager was really effective...
The entire tutorial is incredibly solid—
Cheers Andrew!
Tony Vincent
owenlt •Friday, January 13, 2017
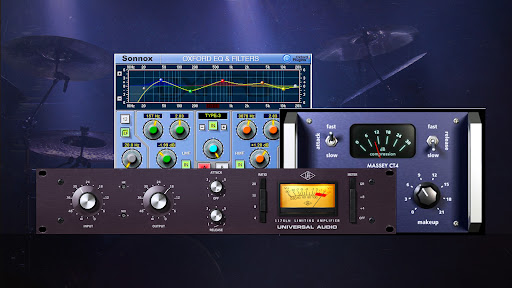
Question about the overeheads at the 20 minute mark. The band's EQ had a significant boost (on the SSL EQ) right around the 4k mark. Andrew followed this with a significant (10dB) cut around 3.2k, using the stock EQ. Is this just in keeping with his 'black box' principle of leaving the original setting in? Seems to me that, ordinarily, us would-be engineers would be well advised simply to turn off/down the boost in the first place ...
mataran •Saturday, December 31, 2016
Thanks Andrew! Great tutorial, how impressive it is to hear the difference between the rough mix and the final one, with "un je ne sais quoi" which makes it so great. Pure talent! ho, btw Happy new year from France!
G.MICHAELHALL •Tuesday, December 27, 2016
an excellent insight into not just what can or should be done, but also how to keep a job' focus on the design concept of the producers. When I first listened to the rough, I'll admit I was not feeling it at all; and my thoughts were that it was a bloated production with more technique than substance than the song could endure. By the time the Brainworx plugin gave the vocal it's lift & consequently/by contrast gave the kick a defining role in the song, I could enjoy the creativity of production and appreciate the song more, with it's sounds providing interesting motion and sparkle.TY4sharing
AScheps •Tuesday, December 13, 2016
rvoznyuk asked about how to get the equivalent of a rear buss setup with Scheps Parallel Particles since it only really works as an insert. The answer is actually really easy. Just send whatever you would want to go to the process to a stereo aux, insert Parallel Particles as an insert on that aux and start turning the knobs! All the parallel routing is taken care of for you. You can even try it on the mix buss, a little goes a long way.
r
rvoznyuk •Tuesday, December 13, 2016
Hi Andrews, great tutorial, I thoroughly enjoyed watching it, especially how the Rear Bus made all elements interact. Speaking of that, how do you achieve that interaction using your Parallel Particles plugin? Since it's best used as an insert, is there some magic interaction between separate instances of the plugin?
Window •Tuesday, December 13, 2016
I watch bits of this every morning before I start mixing just to get my ears calibrated. I think I've watched this 20 times. Gosh I love it. Just to listen to Mr. Scheps talk is inspiring. My year subscription has already paid off.
Dazz13 •Sunday, December 4, 2016
That last test between rough and final, I subconsciously smiled once it hit that chorus, it's not even about how it fits, it's about how all of the plugins and sends and processing happening and micro and macro levels you almost expect it to sound a bit overly compressed by default and instead it sounds 'smaller' but more powerful than the rough version which is 'louder' but less powerful, and that right there! Is the art of mixing!
- vocal crush
- rear bus
- Mix bus processing.
Going to use all of these and more in my next mix definitely! :)
Thanks for that Andrew Scheps! :)
DaveNJ •Sunday, December 4, 2016
Hot Carl - I looked it up. Note to self, listen to Andrew from now on.